Industry News
Simplifying the Process with an Easy Installation Method

Installing an indoor full-color LED screen can be an intimidating task, especially for those without prior experience. However, with the right method and techniques, the installation process can be made much more manageable and efficient. In this article, we will explore a detailed installation method that will allow you to easily install an indoor full-color LED screen.
Step 1: Planning and Preparation
Before starting the installation process, it is crucial to thoroughly plan and prepare for the task ahead. Here are the key steps involved in this stage:
- Measure the installation area: Begin by accurately measuring the dimensions of the installation area where the LED screen will be mounted. This will help determine the screen size and the number of panels required.
- Assess the environment: Evaluate the surroundings and identify any potential obstructions or factors that can affect the screen visibility, such as ambient lighting or HVAC systems.
- Design the layout: Create a layout plan that specifies the positioning of the LED panels and any additional components, such as control boxes or power supplies.
- Ensure power and network availability: Verify the availability and accessibility of power and network connections at the installation site.
Step 2: Mounting the LED Screen
The second step involves mounting the LED screen onto the desired location. Follow these steps carefully for a secure and proper installation:
- Prepare the mounting surface: Clean the wall or structure where the LED screen will be mounted to ensure a smooth and stable surface.
- Install the mounting brackets: Attach the mounting brackets to the installation surface using appropriate screws or fasteners. Ensure that the brackets are level and securely fixed.
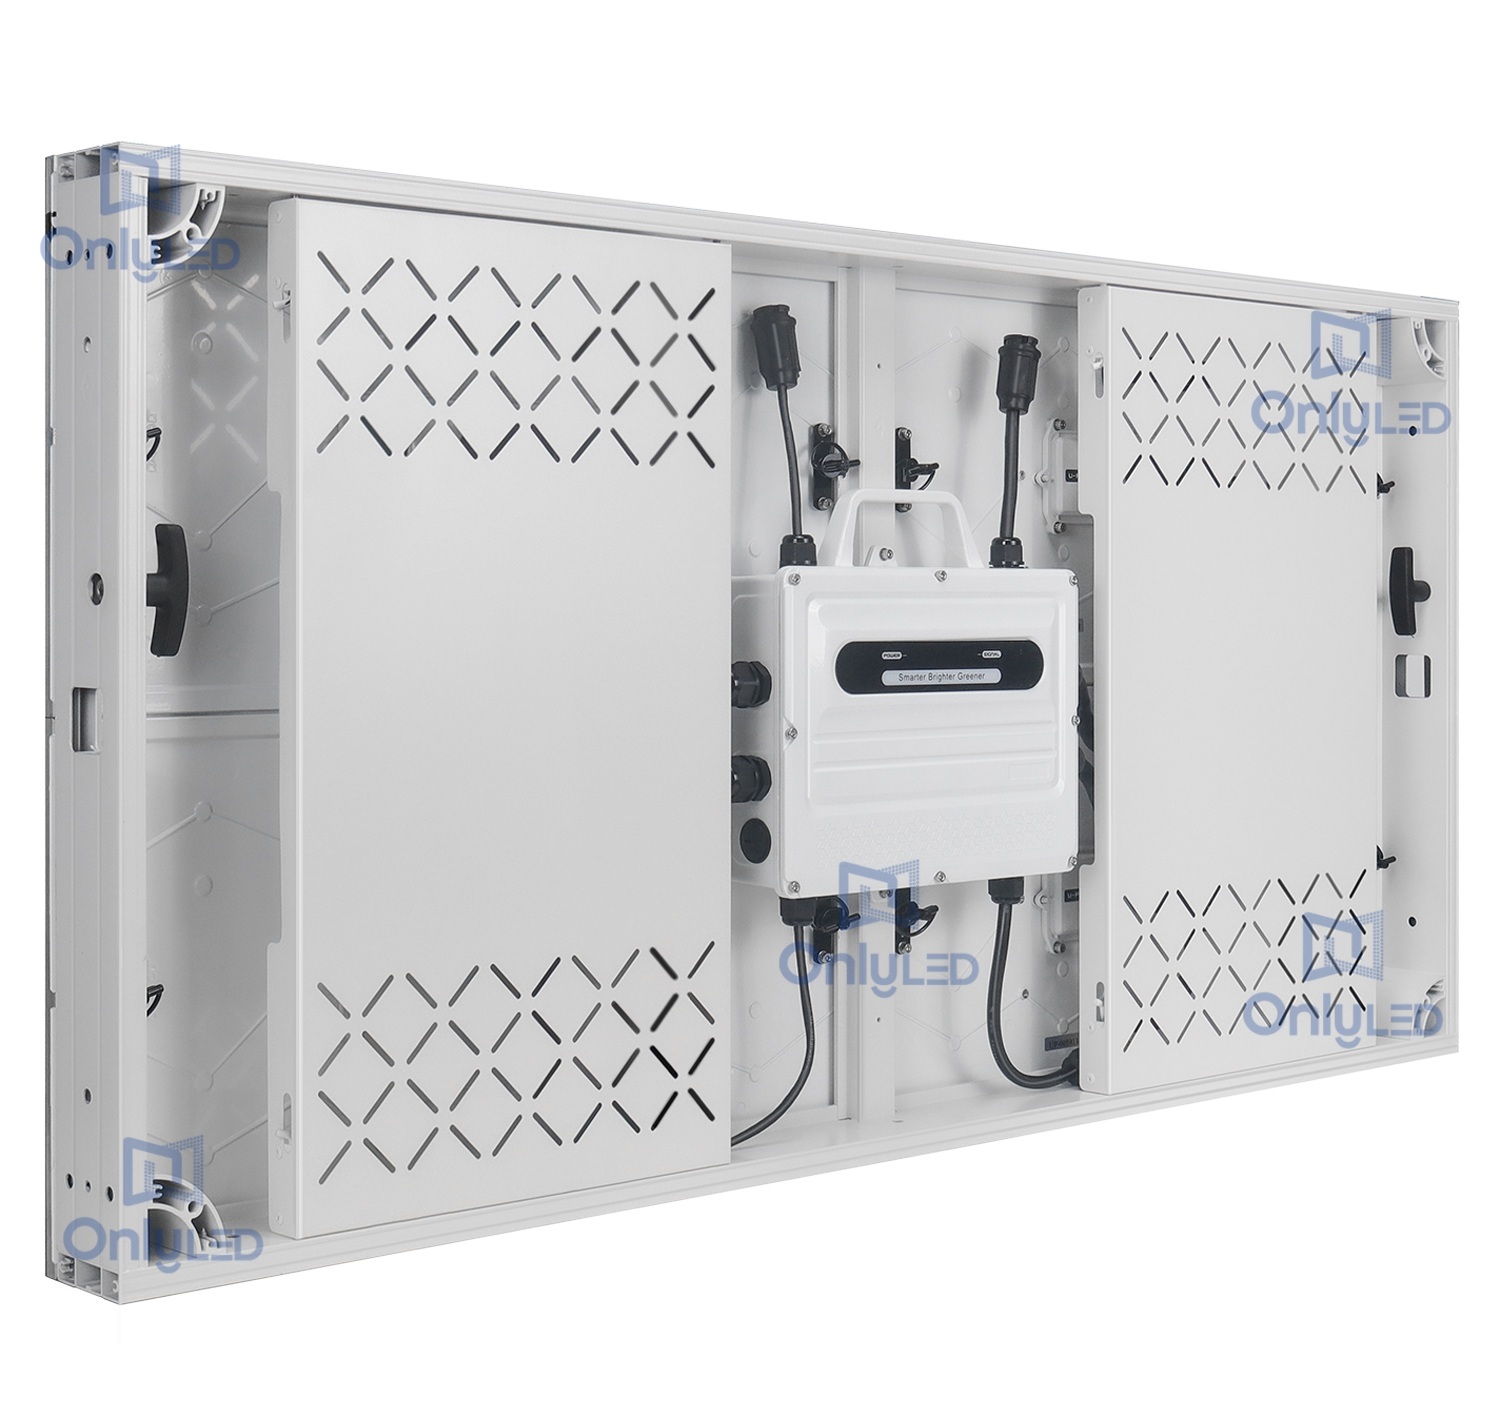
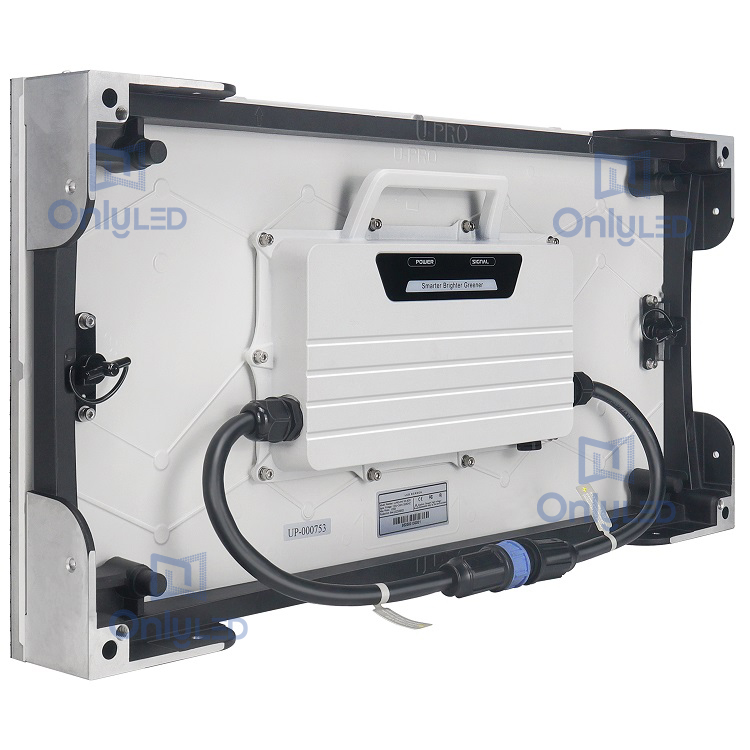
- Connect the panels: Carefully connect the LED panels together as per the layout plan. Secure the connections by aligning the panel locks and tightening them using the provided screws.
- Mount the panels: Lift the connected LED panels and slide them into the mounted brackets. Ensure that the panels are level and aligned correctly.
- Secure the panels: Once the LED panels are in place, secure them using additional brackets or locking mechanisms provided by the manufacturer.
Step 3: Testing and Calibration
After the LED screen is mounted, it is essential to test and calibrate the display to ensure optimal performance. Follow these steps to complete the installation process:
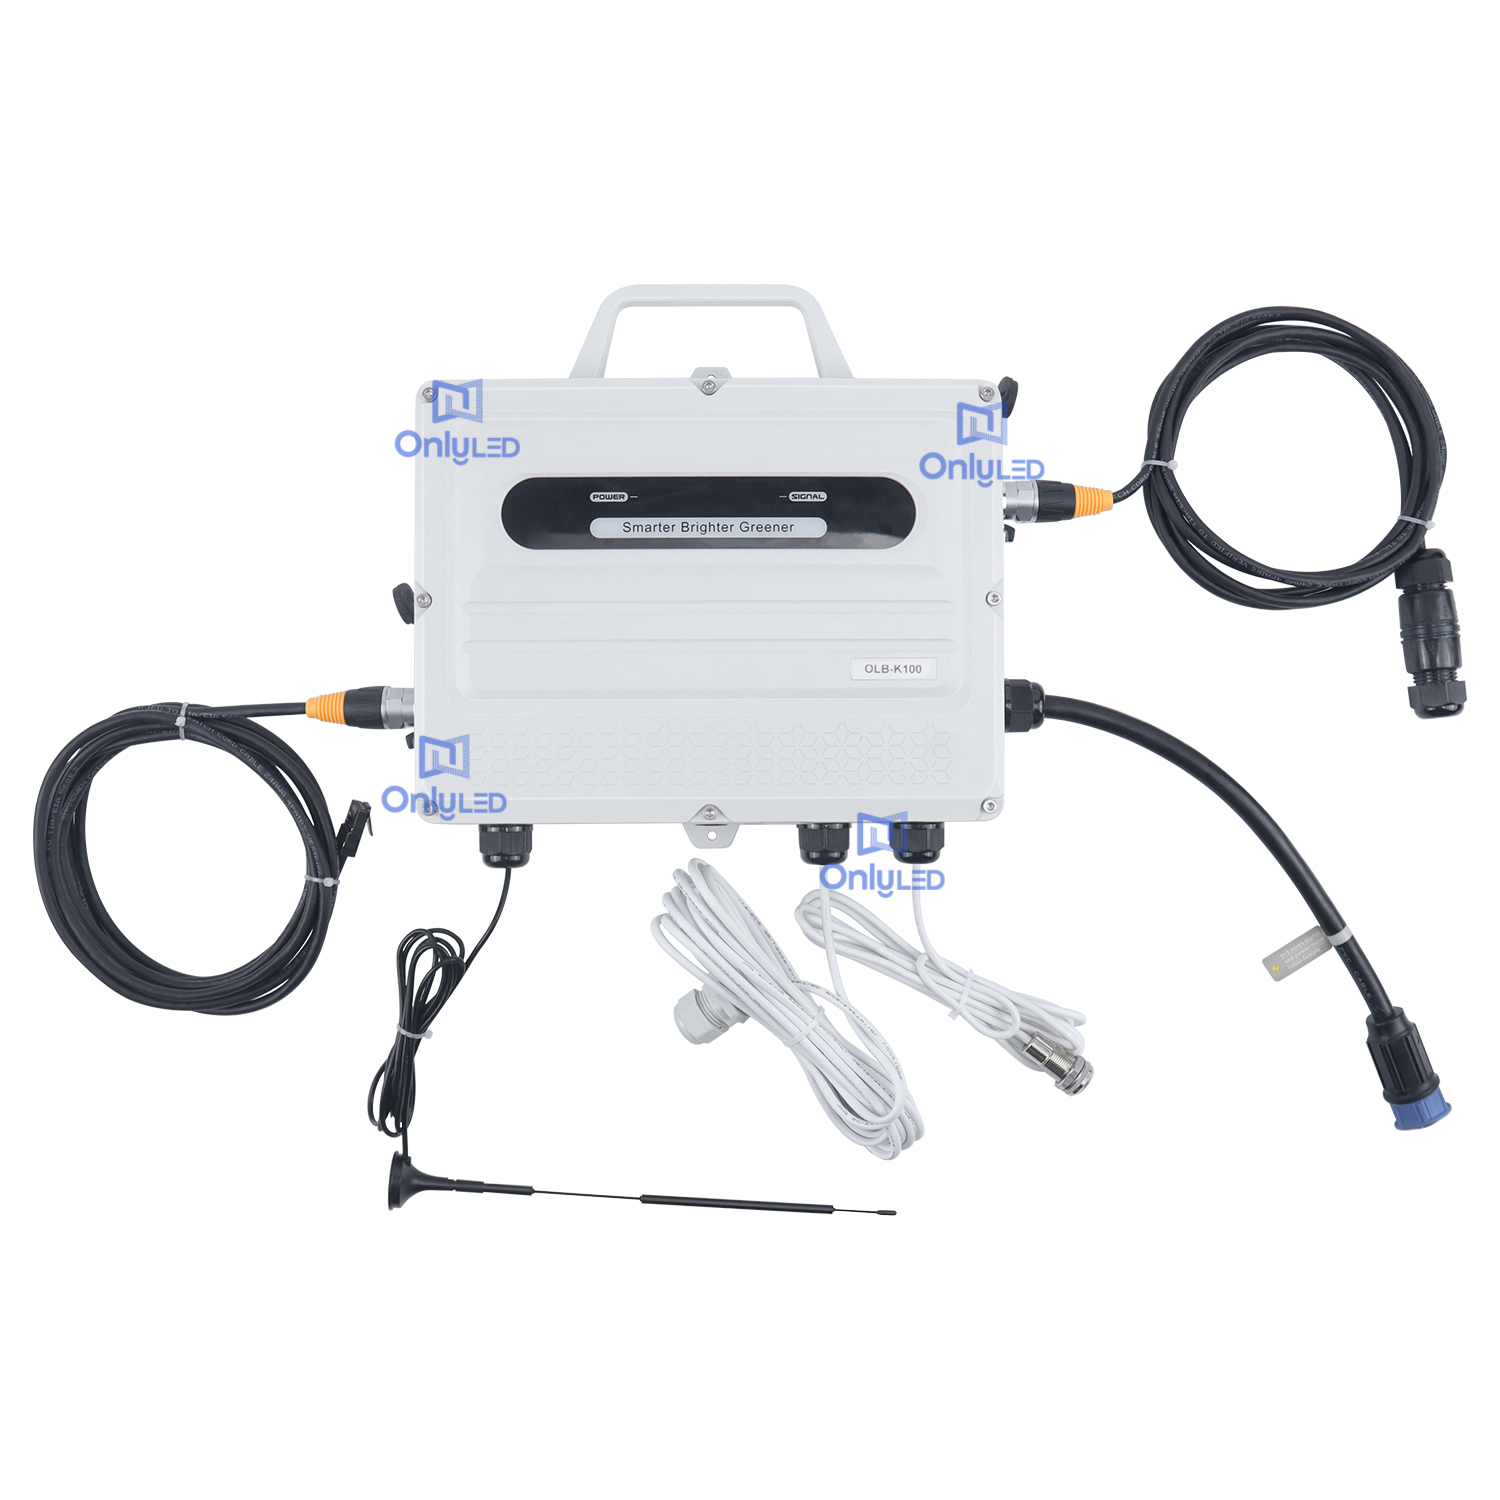
- Connect power and data: Connect the LED screen to a power source and ensure that the data cables are properly connected.
- Turn on the screen: Power on the LED screen and check if the display is functioning correctly.
- Adjust settings: Use the control software or the onboard settings to adjust the brightness, color balance, and other visual parameters as required.
- Test and verify: Run test patterns or content on the LED screen to verify that all panels are working correctly and presenting the desired visuals.
In conclusion, installing an indoor full-color LED screen can be made easy and hassle-free by following a systematic installation method. By carefully planning, mounting the screen securely, and testing the display, you can ensure a successful installation. With this method, you can enjoy the benefits of a vibrant and visually appealing LED screen in your indoor space.